Combo Graph
Plugin Integration ↔ AGR Pro
Plugin Integration ↔ AGR Pro
Tutorial videos from AGR author: AGR PRO v 4.0.0 Combat Manager Component / Melee weapon full setup
Collision Setup
Go to Project's Settings > Engine > Collision

In the Trace Channels category, click New Trace Channel... button and crate a new custom chanel with the name of your choosing, set the Default Response to Ignore. We'll specifically turn collision presets to Block later on:

AGR_Collision for the channel name with Ignore for the Default Response
Then for the CharacterMesh Preset, click the Edit button and change the profile for AGR_Collision trace type from Ignore to Block.

Doing so, we will ensure the trace channel AGR is going to use for collisions is ignoring everything but the CharacterMesh profile. With this setup, we are making sure Hit Events are going to be triggered when our collision mesh collides with the actual Skeletal Mesh for characters (which are of Pawn object type using CharacterMesh profile for collisions) and ensure we're ignoring the actual capsule for the pawns (which are of Pawn object type but using Pawn profile for collisions).
This way, we'll be able to get accurate hit information for location / impact vector along the bone name that was hit. If the collision was triggered on the capsule, Hit Bone name would always be invalid as the capsule doesn't have a skeleton to get back this info from.
Note If you'd like your mesh to collide with other objects than Character's Skeletal Mesh (for instance the environment such as walls), you can adjust the settings here for the various preset and set the
AGR_Collisioncollision response toBlockinstead ofIgnore.
Setup Mesh Collision Sockets (AGR)
AGR Combat Component is using two sockets to know where melee traces should start and end. To do so, we need to create a Start at the base of the hitting part of the weapon, and an End socket at the tip of the sword.
Here is the socket setup for the Longsword mesh I am using in this tutorial (the mesh itself comes from Kubold's LongSword Animset Pro on the marketplace)

Create Socket for each socket in the Socket Manager on the bottom right (Click the image to open in full screen)
Setup AGR Combat Manager Actor Component
We now need to add AGR_CombatManager Actor Component to our character.

AddComponent and add AGR Combat Manager
With the component selected, adjust the settings to your liking.
At the very least, you should change the Trace Channel setting to the one we created earlier AGR_Collision, make sure Start and End Socket Trace names match the socket created in the previous section, and maybe turn on Debug boolean if you'd like to see the debug trace when the collision is enabled.

With the component added, we can setup the collision meshes (in this tutorial, we're setting up just one) with the Pawns's On Begin Play event.

On Component Activated event if you also set Auto Activate bool for the component to true
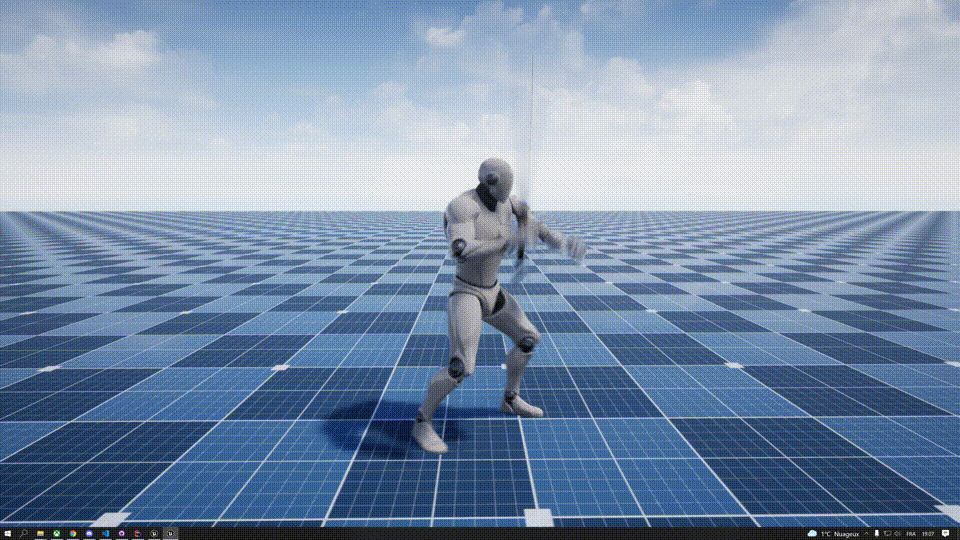
We can test the collision activation now with an animation montage. Open up the anim montage you'd like to use and setup the anim notify state AGR_Attack_NotifyState to begin when the character starts swinging and end the notify when it stops swinging.

If we setup a basic test input to play this montage, and if you have setup the Debug boolean to true for AGR_CombatManager component, you should see debug traces being drawn when you play the montage.

 I've changed here the Collision Handling method to
 Simple Box Trace with Add Trace Mesh method called on begin play, so that debug traces are a bit more visual.
Test Hit Event (AGR)
Now that collision system for AGR Component is in place, we can test registration of hits and send back that information to Abilities, such as abilities that
are using Combo Graphs with StartComboGraph ability task. For now, we're going to simply print out information we get from hit results.

AGR_CombatManager selected in the components list, click + next to On Attack Hit Event event in the details panel, and setup the event graph like so. Here, we're just printing out information for the Hit Result we get.
AGR Combat Component by default will register multiple hits for a melee trace, but it provides a mechanism to ensure it only happens once. This is why we use
AGR_CombatManager > IgnoredActorsarray, and add the hit actor to it on the first registered hits. AGR will internally clear up that array when the attack ends.

On Attack Hit Event event called with hit result properly filled.
We have now everything needed to send back that information to Abilities so that they can react to it, such as apply Gameplay Effects for damages, or trigger Gameplay Cues for visual or sound effects. Head over to Send Hit Information to Abilities section to complete this tutorial.
Edit this page on GitHub